KIA Niro: Electrical System
- Be sure to disconnect the battery cable from the negative (-) terminal of the battery.
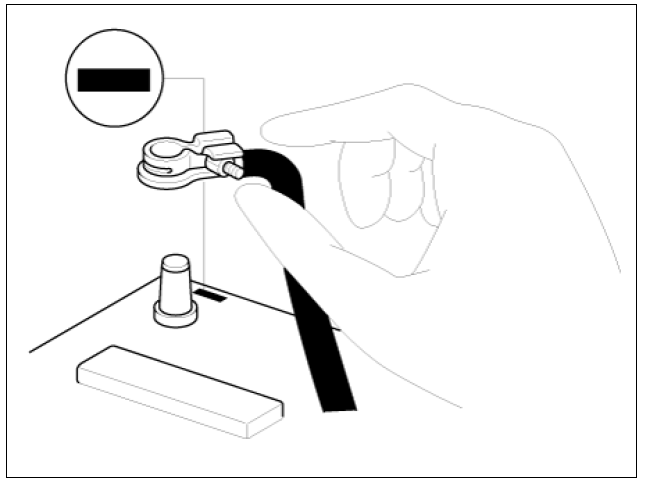
- Never pull on the wires when disconnecting connectors.
- Locking connectors will click when the connector is secure.
- Handle sensors and relays carefully. Be careful not to drop them against other parts.
Rubber Parts And Tubes
Always prevent gasoline from contacting rubber parts or tubing.

Measuring Body Dimensions
- Basically, all measurements in this manual are taken with a tracking gauge.
- When a measuring tape is used, check to be sure there is no elongation, twisting or bending.
- For measuring dimensions, both projected dimensions and actual - measurement dimensions are used in this manual.
Dimensions Projected
- These are the dimensions measured when the measurement points are projected from the vehicle's surface, and are the reference dimensions used for used for body alterations.
- If the length of the tracking gauge probes is adjustable, measure it by lengthening one of two probes as long as the different value in height of the two surface.

Measuring Actual Dimensions
- These dimensions indicate the actual linear distance between measurement points, and are used as the reference dimensions when a tracking gauge is used for measurement.
- First adjust both probes to the same length (A=A') before measurement.
Warning
Check the probes and gauge it self to make sure there is no free play.

Measurement Point
Measurements should be taken at the center of the hole.

Checking Cables And Wires
- Check the terminal for tightness.
- Check terminals and wires for corrosion from battery electrolyte, etc.
- Check terminals and wires for open circuits.
- Check wire insulation and coating for damage, cracks and degrading.
- Check the conductive parts of terminals for contact with other metallic parts (vehicle body and other parts).
- Check grounded parts to verify that there is complete continuity between their attaching bolt(s) and the vehicle's body.
- Check for incorrect wiring.
- Check that the wiring is properly secured to preventcontact with sharp corners of the vehicle body, etc. orhot parts (exhaust manifold, etc.)
- Check that the wiring is clamped firmly to provide enough clearance from the fan pulley, fan belt and other rotating or moving parts.
- Check that the wiring has a little space so that it can vibrate between fixed and moving parts such as the vehicle body and the engine.

Check Fuses
A blade type fuse provides circuit check (voltage/amperage) test access to
allow checking the fuse
without removing if from the fuse box. The fuse is good if the test lamp lights
up when one lead is
connected to the test taps (one at a time) and the other lead is grounded. (Turn
the ignition switch so
that the fuse circuit becomes operative)

READ NEXT:
 Servicing The Electrical System
Prior to servicing the electrical system, be sure to turn off the
ignition switch and disconnect the
battery ground cable.
Warning
In the course of MFI or ELC system diagnosis, when the battery cable
is removed, any
diagnostic trouble
Identification Number Locations
Identification Numbers
Identification Number Description
Vehicle Identification Number
World Manufacturer Identifier (WMI)
KNA : Passenger vehicle, MPV(Multipurpose Passenger Vehicle)/SUV(Sports
Utility Vehicle)/RV(Recreational
Important Safety Notice
Proper service methods and repair procedures are essential for safe, reliable
operation of all motor
vehicles as well as personal safety of the operator. The service procedures and
descriptions in this shop
manual provide general directions for
SEE MORE:
Changing a tire equipped with
Tire Pressure Monitoring System
(TPMS) (Kia Niro EV)
Contact a professional workshop or seek
other qualified assistance. Kia recommends
to call an authorized Kia dealer/
service partner.
INFORMATION
You may not be able to identify a low tire
by simply looking at it. Always use a
good quality tir
High Voltage Battery System / Components And Components Location / Repair Procedures
Description
The High Voltage Battery System provides the hybrid drive motor, HSG, and electric A/C compressor
with electric energy and also reserves the electric energy generated during regeneration braking.It
consists of the battery pack assemb
Categories
- Home
- KIA Niro EV, Hybrid - Second generation - (SG2) (2021-2024) - Owner's manual
- Kia Niro - First generation - (DE) (2017-2022) - Service and Repair Manual
- Contact Us