KIA Niro: License Lamps Repair procedures | High Mounted Stop Lamp Repair procedures
Kia Niro - First generation - (DE) (2017-2022) - Service and Repair Manual / Body Electrical System / Lighting System / License Lamps Repair procedures | High Mounted Stop Lamp Repair procedures
Removal
- Disconnect the negative (-) battery terminal.
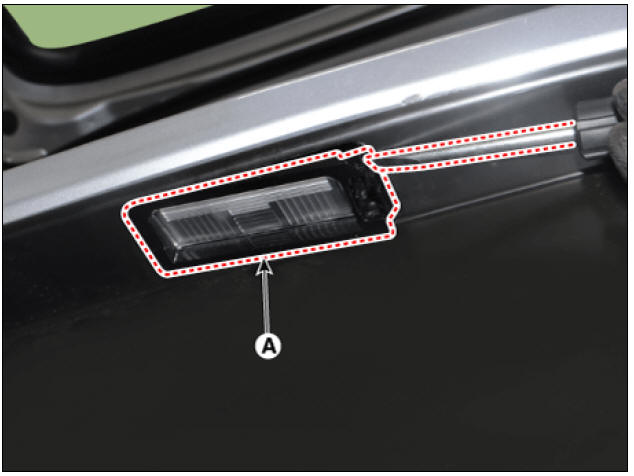
- Remove the license lamp assembly (A) after pressing the locking pin.
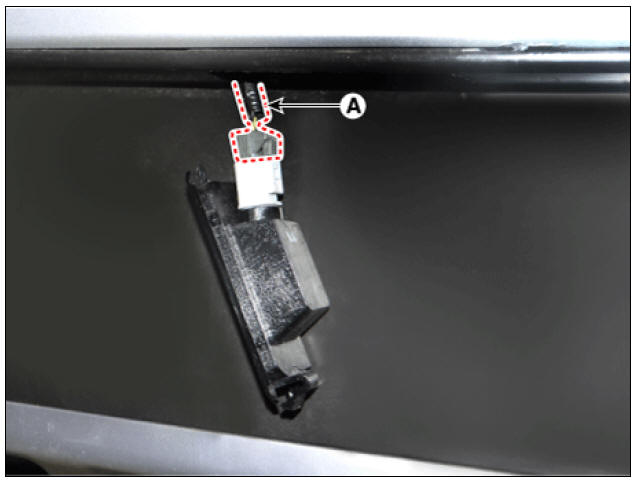
- Disconnect the license lamp connector (A).
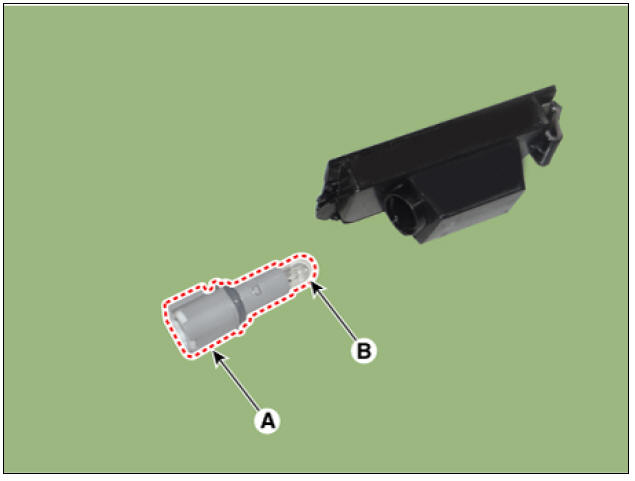
- Remove the license lamp bulb (B) after removing the license lamp socket (A).
Installation
- Install in the reverse order of removal.
High Mounted Stop Lamp Repair procedures
Removal
- Disconnect the negative (-) battery terminal.
- Remove the rear spoiler.
(Refer to Body - "Rear Spoiler")
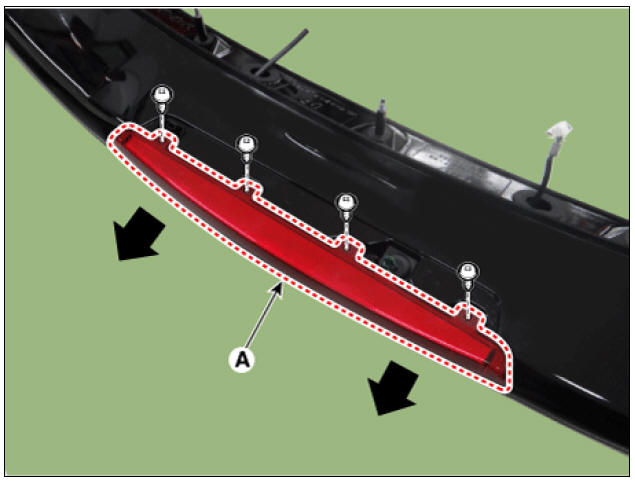
- Remove the high mounted stop lamp cover.
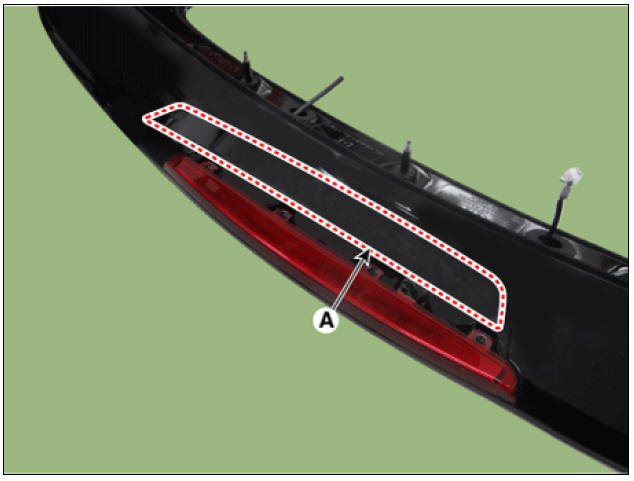
- Remove the high mounted stop lamp (A) after loosening the mounting screws.
Installation
- Install in the reverse order of removal.
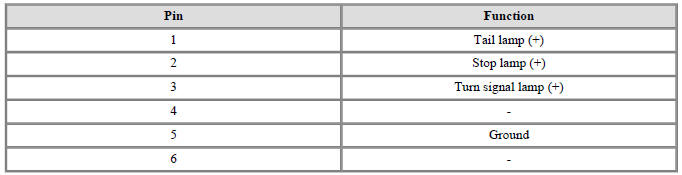
Circuit Diagram
Bulb Type
Outside Rear Combination Lamp
Inside Rear Combination Lamp

LED Type
Outside Rear Combination Lamp

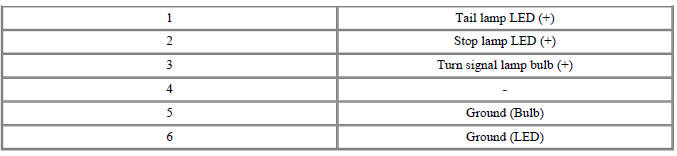
Inside Rear Combination Lamp

READ NEXT:
 Rear Combination Lamp Repair procedures | Tail Lamp
Removal
Rear Combination Lamp (Outside)
Disconnect the negative (-) battery terminal.
Using a screwdriver or remover, remove the rear combination lamp cover (A).
Remove the rear combination lamp (A) after loosening the screw
SEE MORE:
Vehicle weight
This section will guide you in the proper
loading of your vehicle, to keep your
loaded vehicle weight within its design
rating capability. Properly loading your
vehicle will provide maximum return of
the vehicle design performance. Before
loadi
Safe Exit Assist (SEA)
After the vehicle stops, when an
approaching vehicle from the rear area
is detected after a passenger opens the
door, Safe Exit Assist will warn the driver
with a warning message and an audible
warning to help prevent a collision.
When
Categories
- Home
- KIA Niro EV, Hybrid - Second generation - (SG2) (2021-2024) - Owner's manual
- Kia Niro - First generation - (DE) (2017-2022) - Service and Repair Manual
- Contact Us