KIA Niro: Hood
Hood / Repair Procedures
Adjustment
- After loosening the hinge (A) mounting bolts, adjust the hood (B) by moving it up and down, or right and left.
- Adjust the hood height by turning the hood overslam bumpers (C).
- After loosening the hood latch (D) mounting bolts, adjust the latch by moving it up and down, or right and left.

Component Location
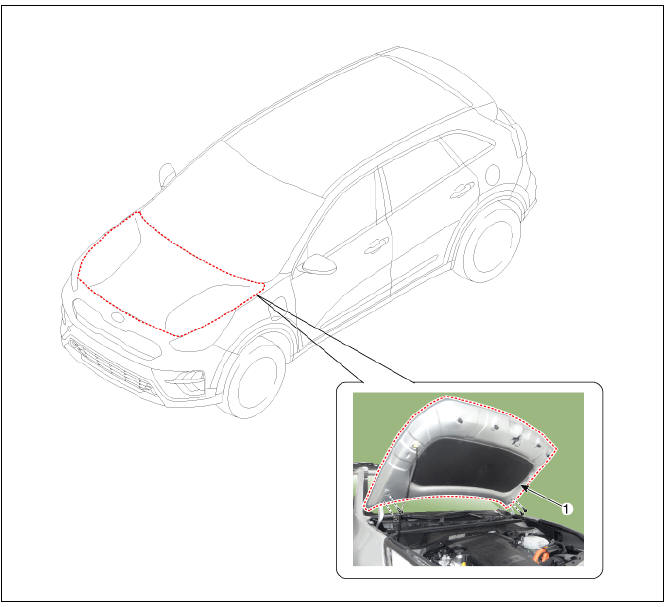
- Hood assembly
READ NEXT:
 Hood Assembly Repair procedures
Replacement
Warning
Be careful not to damage the hood and body.
Warning
Work in a group of two when removing and installing the hood.
Use a clip remover to remove clips.
Remove the hood assembly (A) after loosening the hood hinge mount
Hood lower latch assembly
Hood lower latch assembly
Replacement
Remove the front bumper cover.
(Refer to Front Bumper - "Front Bumper Cover")
Disconnect the hood lower latch connector (A).
Remove the engine clutch reservoir (A) after loos
SEE MORE:
Heating, Ventilation And Air Conditioning / Troubleshooting
Problem Symptoms Table
Before replacing or repairing air conditioning components, first determine if
the malfunction is due to
the refrigerant charge, air flow or compressor.
Use the table below to find the cause of the problem. The numbers in
Fuses
Blade type
Cartridge type
Multi fuse
BFT
* Left: Normal, Right: Blown
* The actual fuse/relay panel label may
differ.
Before replacing a blown fuse, disconnect
the negative battery cable.
If the electrical system does not work,
Categories
- Home
- KIA Niro EV, Hybrid - Second generation - (SG2) (2021-2024) - Owner's manual
- Kia Niro - First generation - (DE) (2017-2022) - Service and Repair Manual
- Contact Us